Create a new Import site
For example, if you have a WordPress running at your provider and want to import that installation right when you set up the new site, then this site type is just right for you.
-
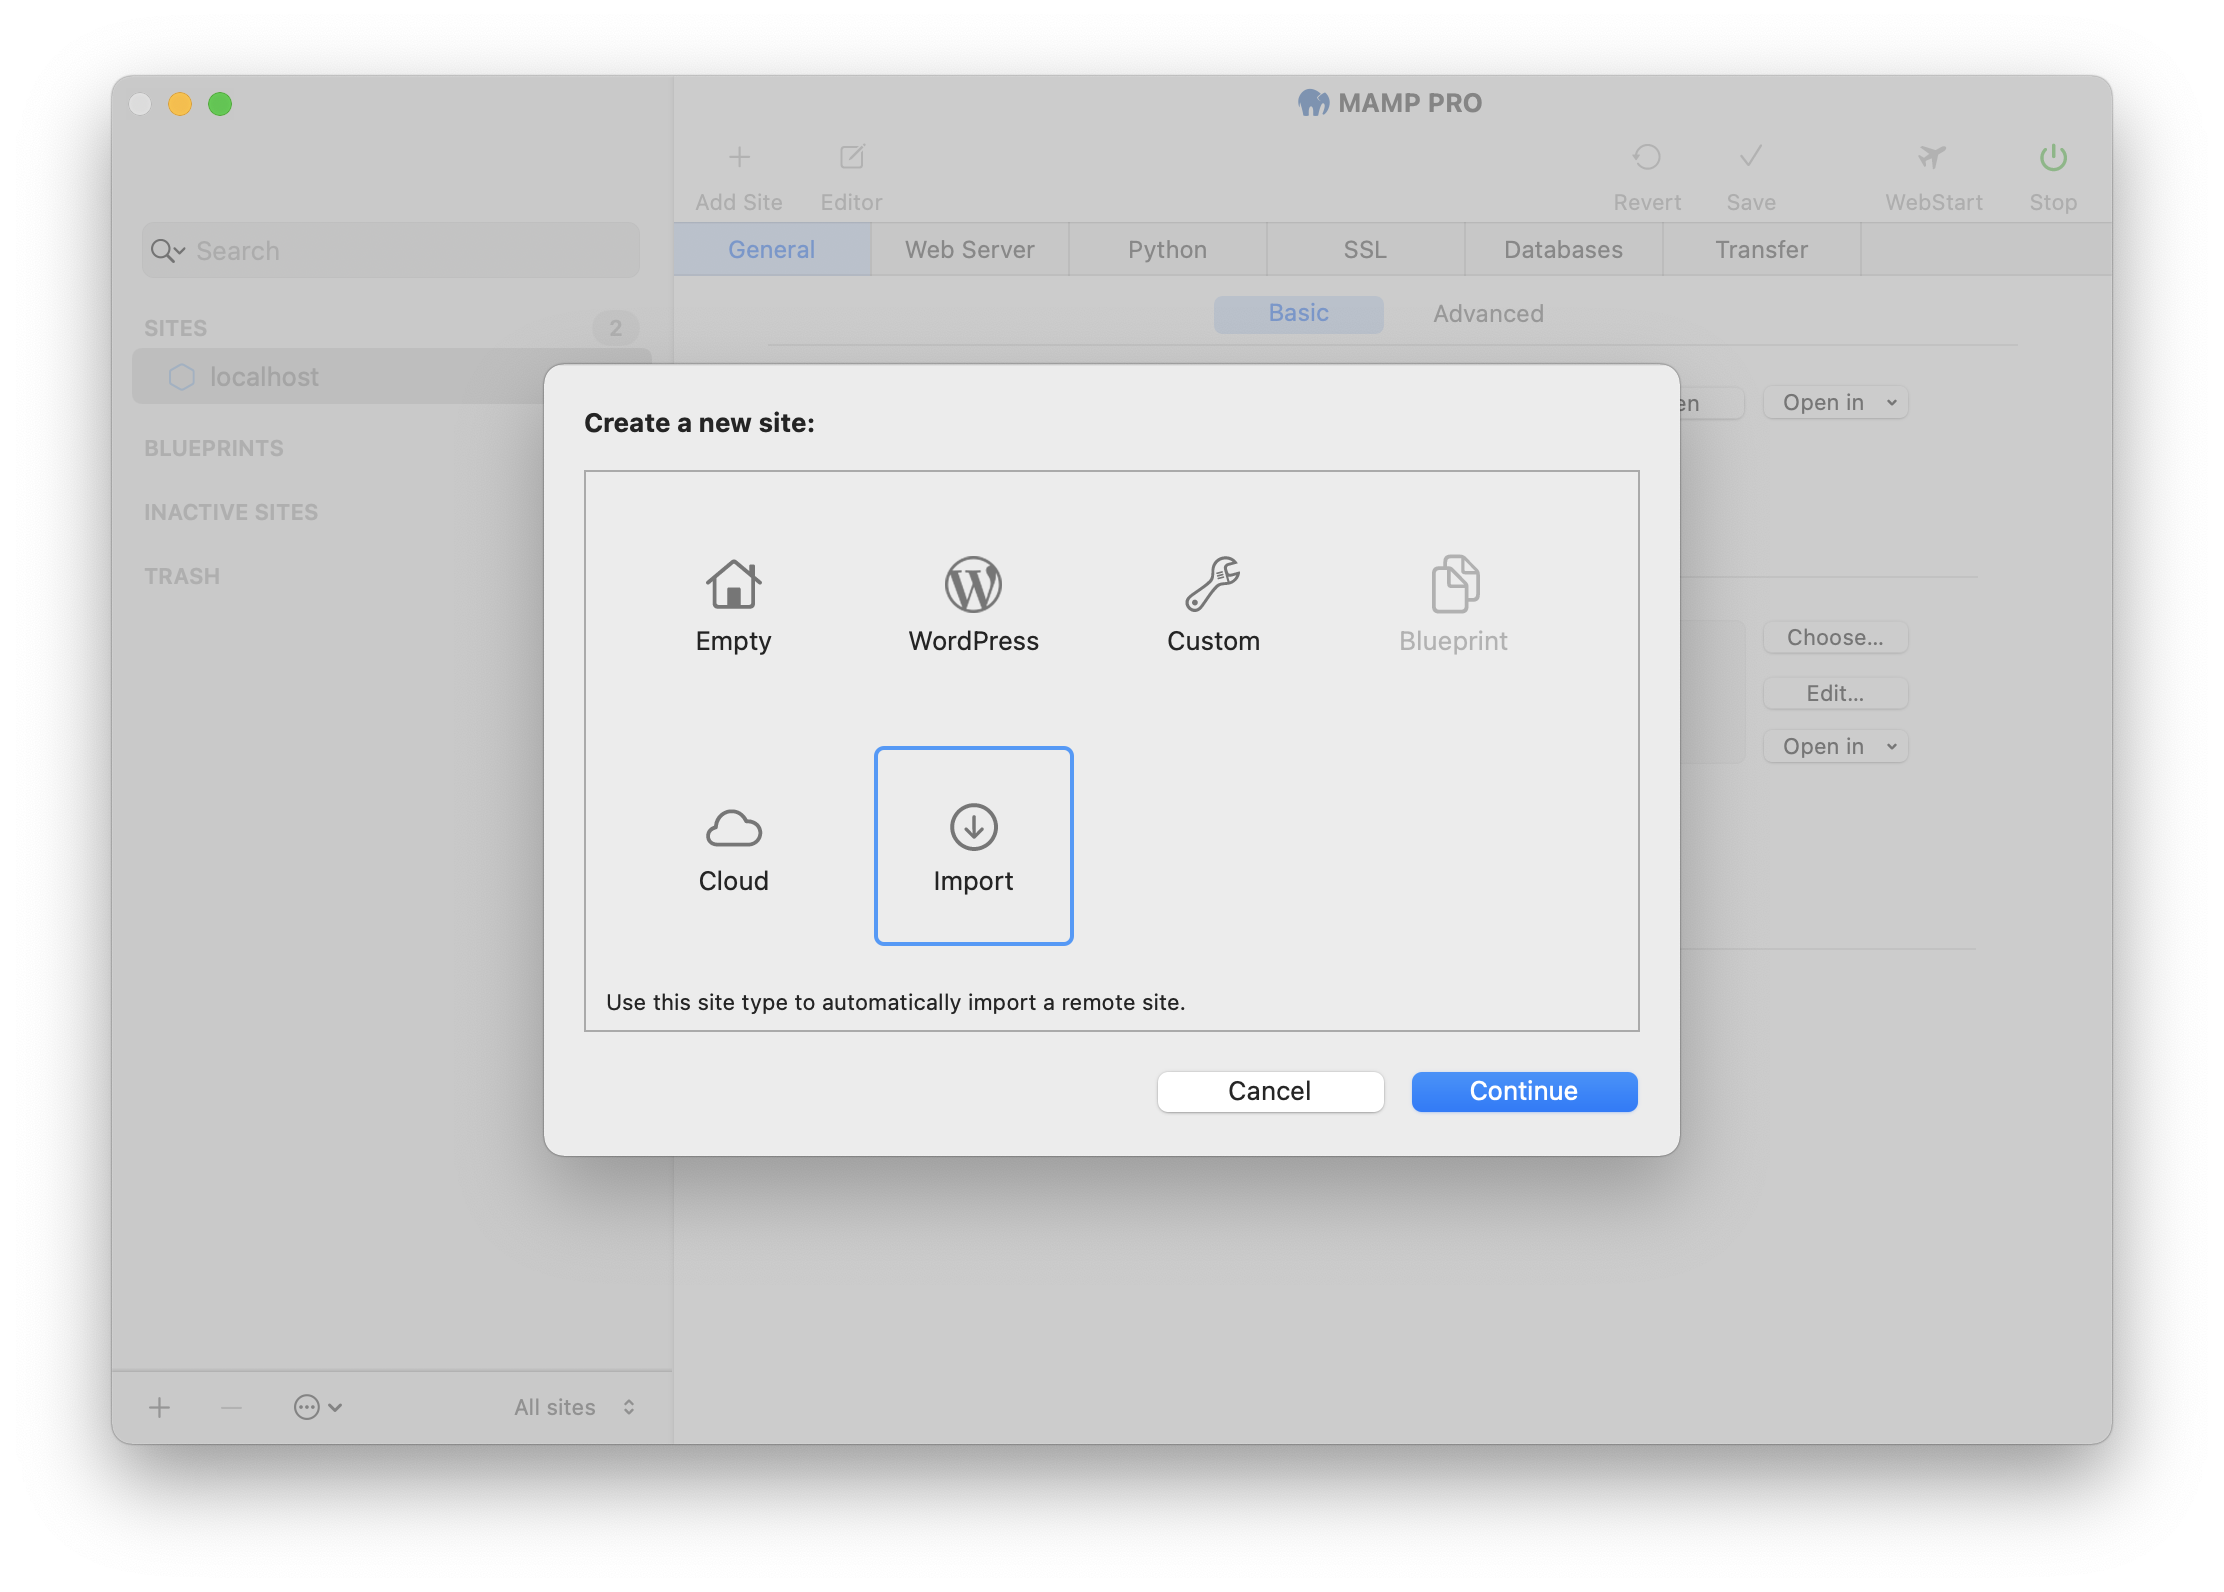
Click the “+” button at the bottom of the sites list, and then select the “Import” site type in the following dialog box.
-
Confirm your selection by clicking on the “Continue” button.
-
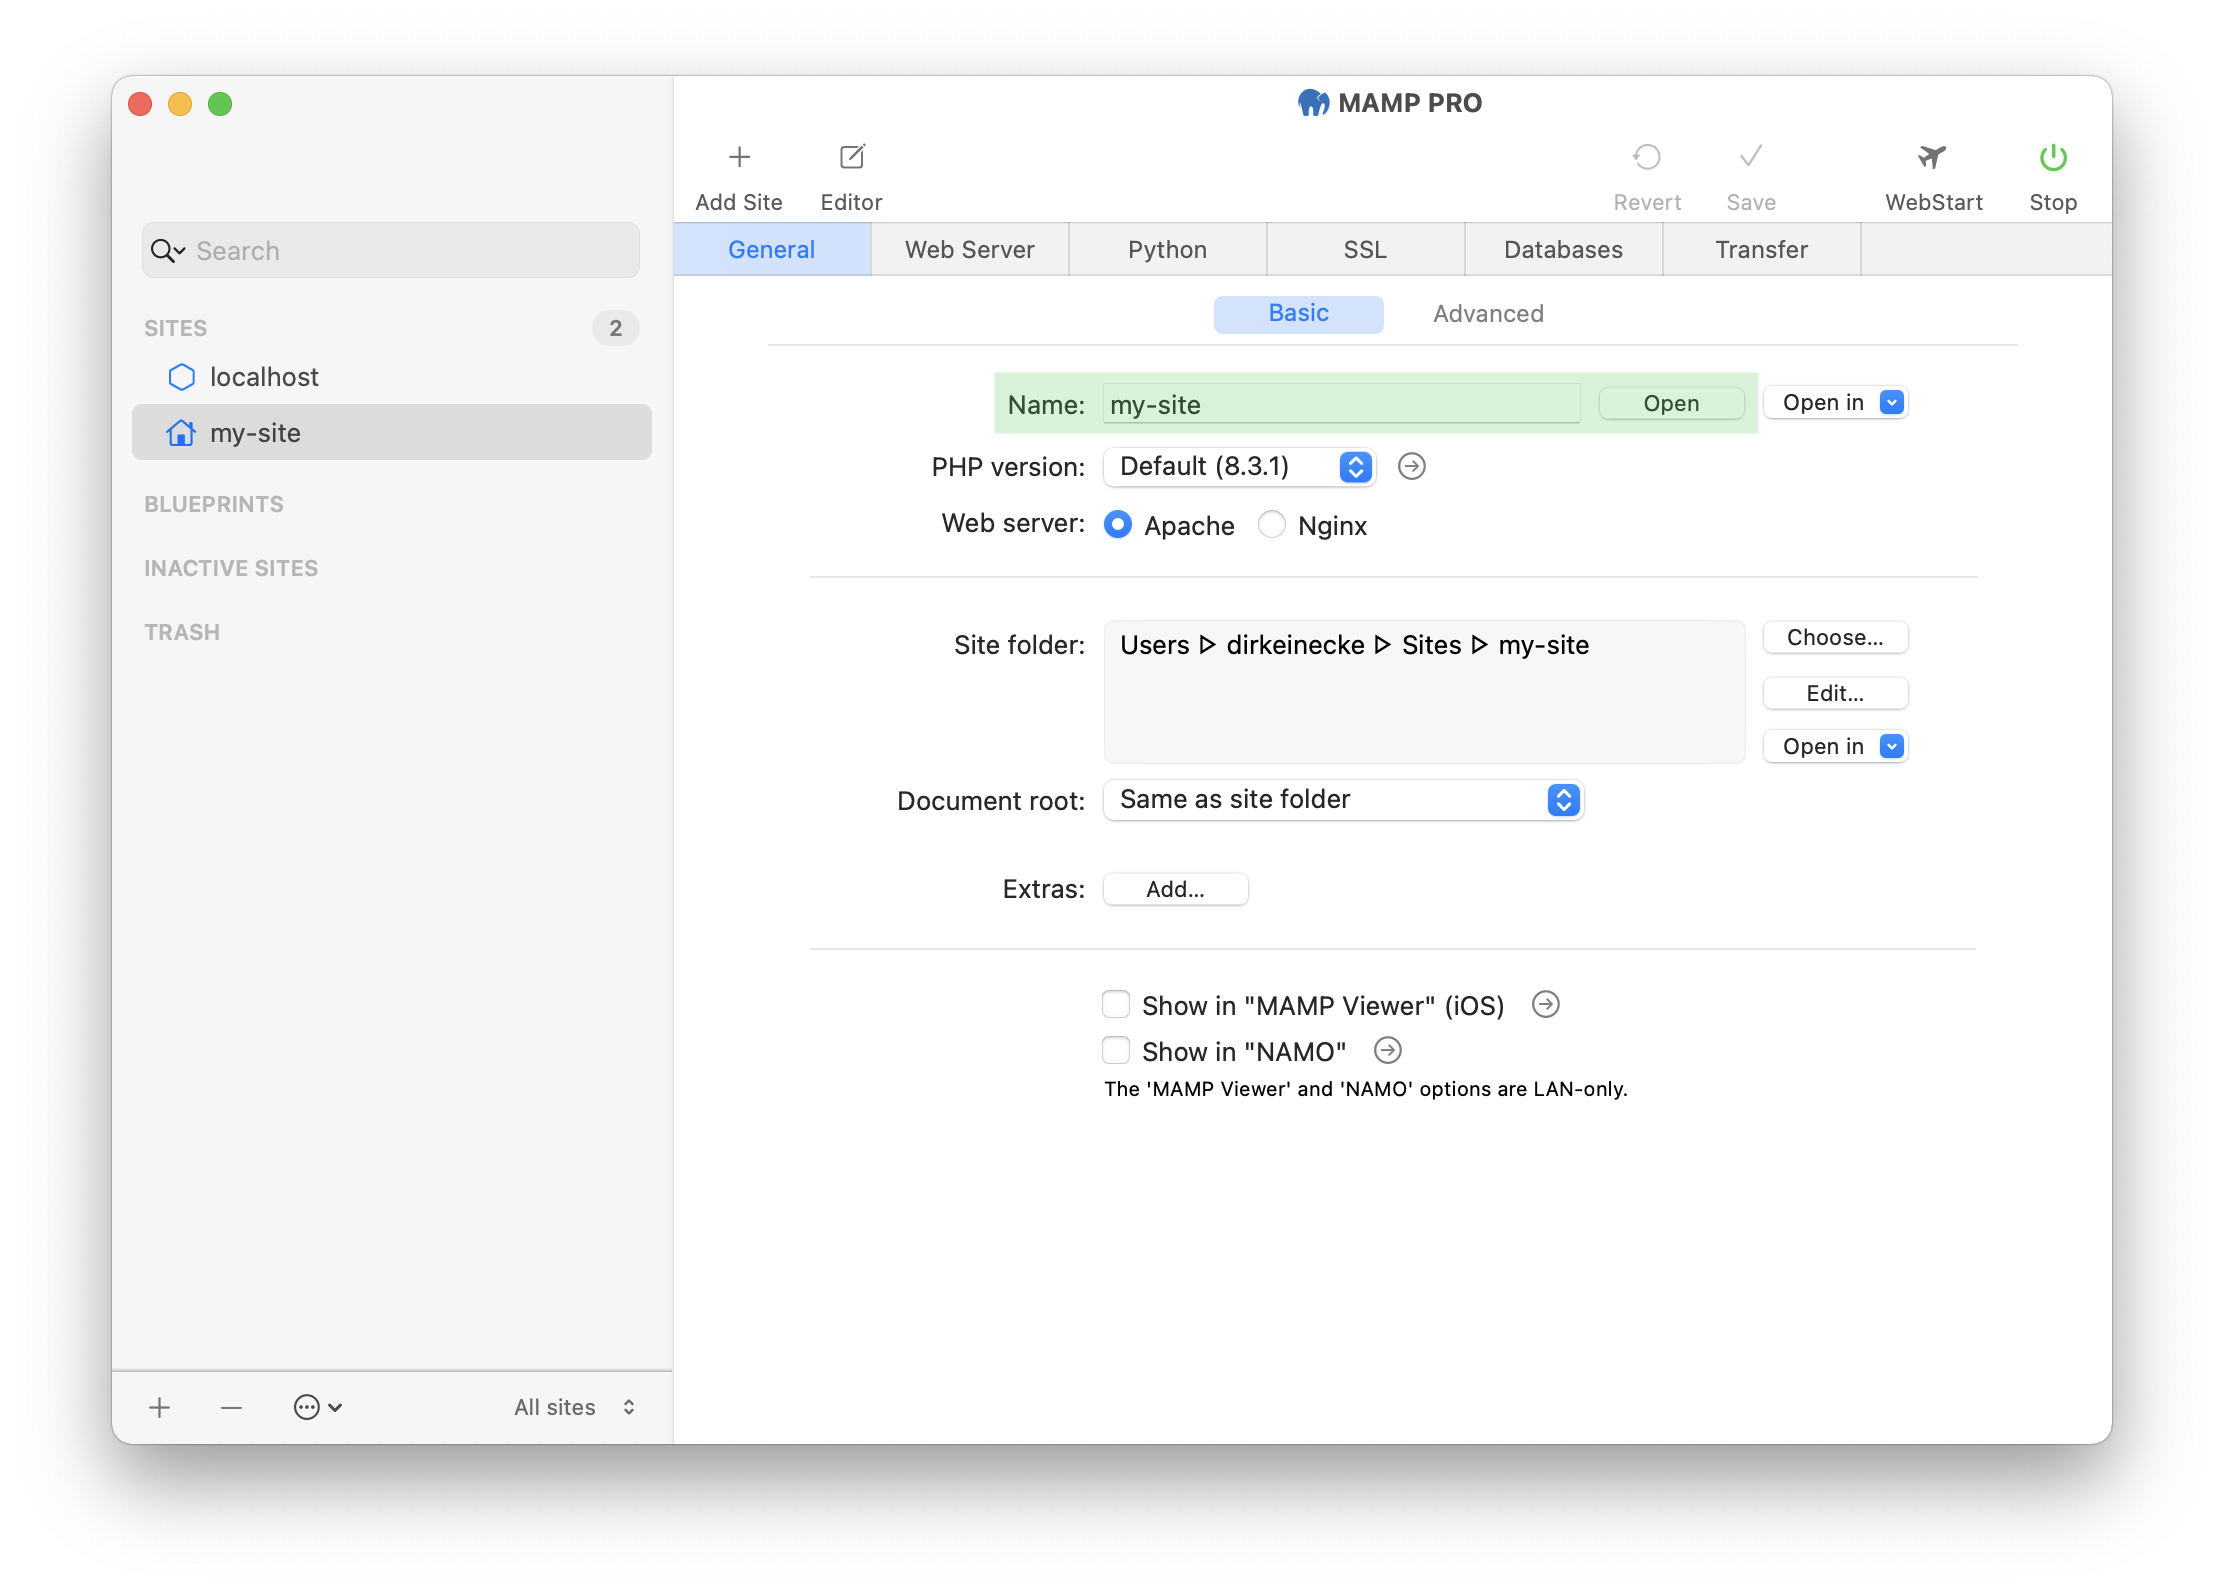
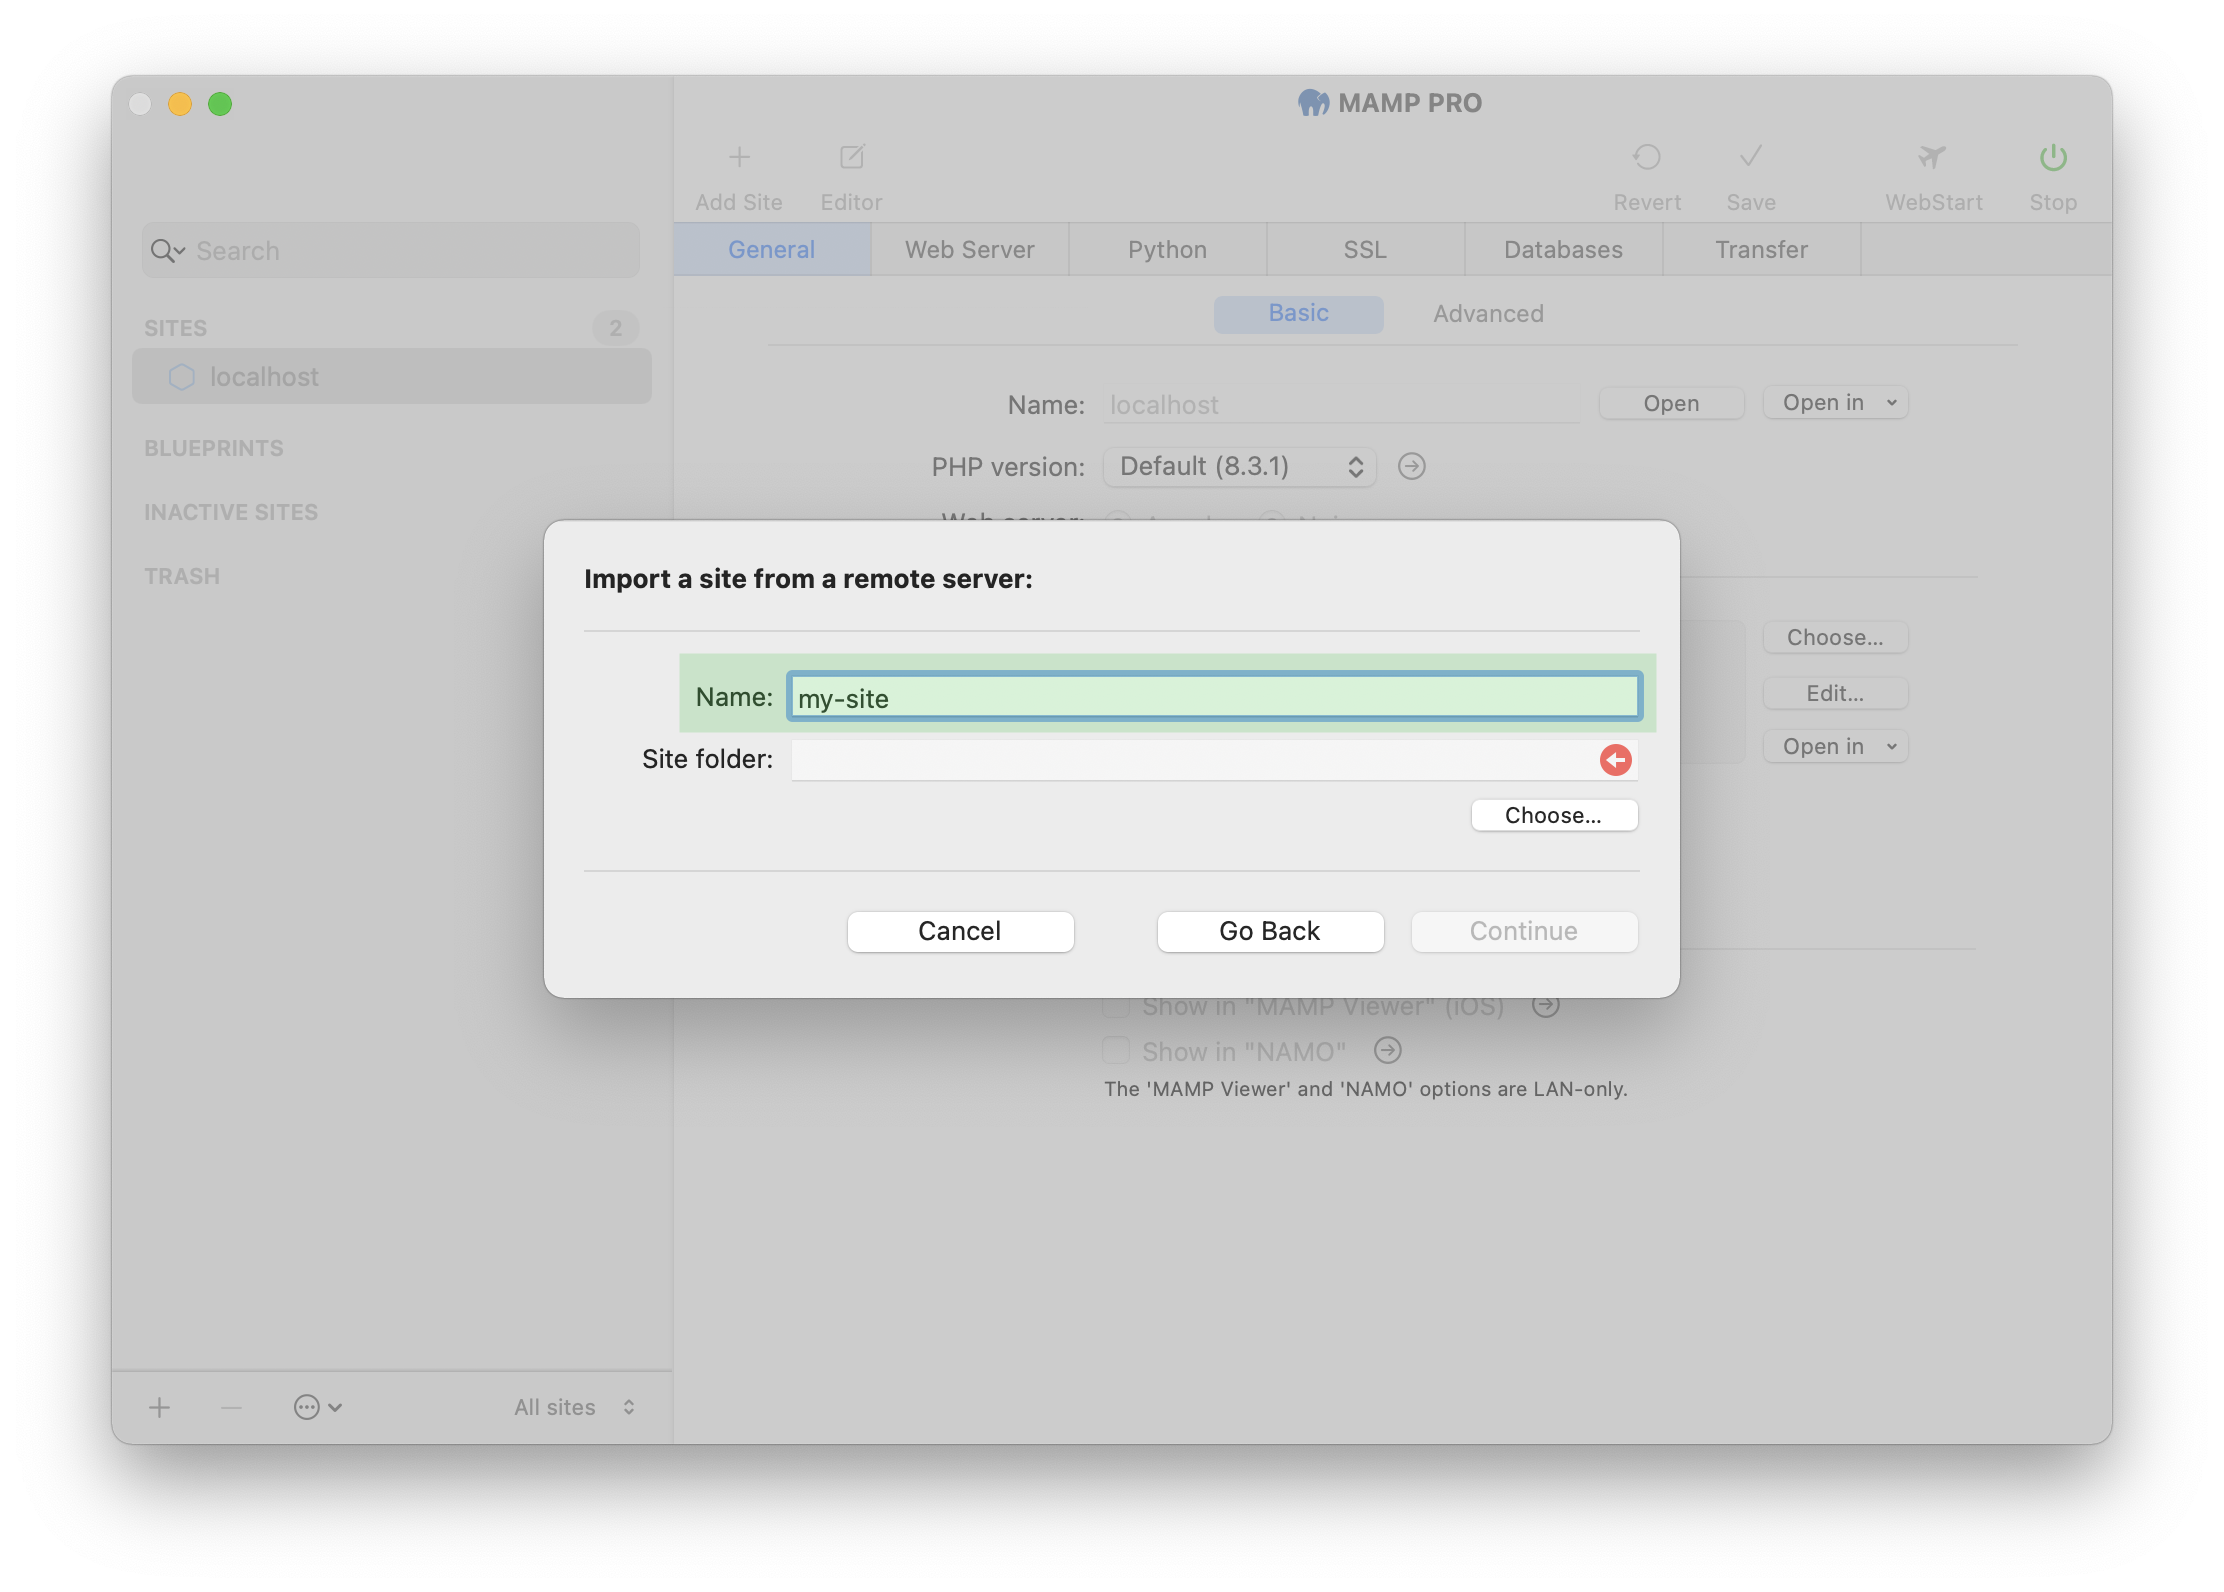
The next step is to enter the name of the new site. In this example we choose the name “my-site”.
-
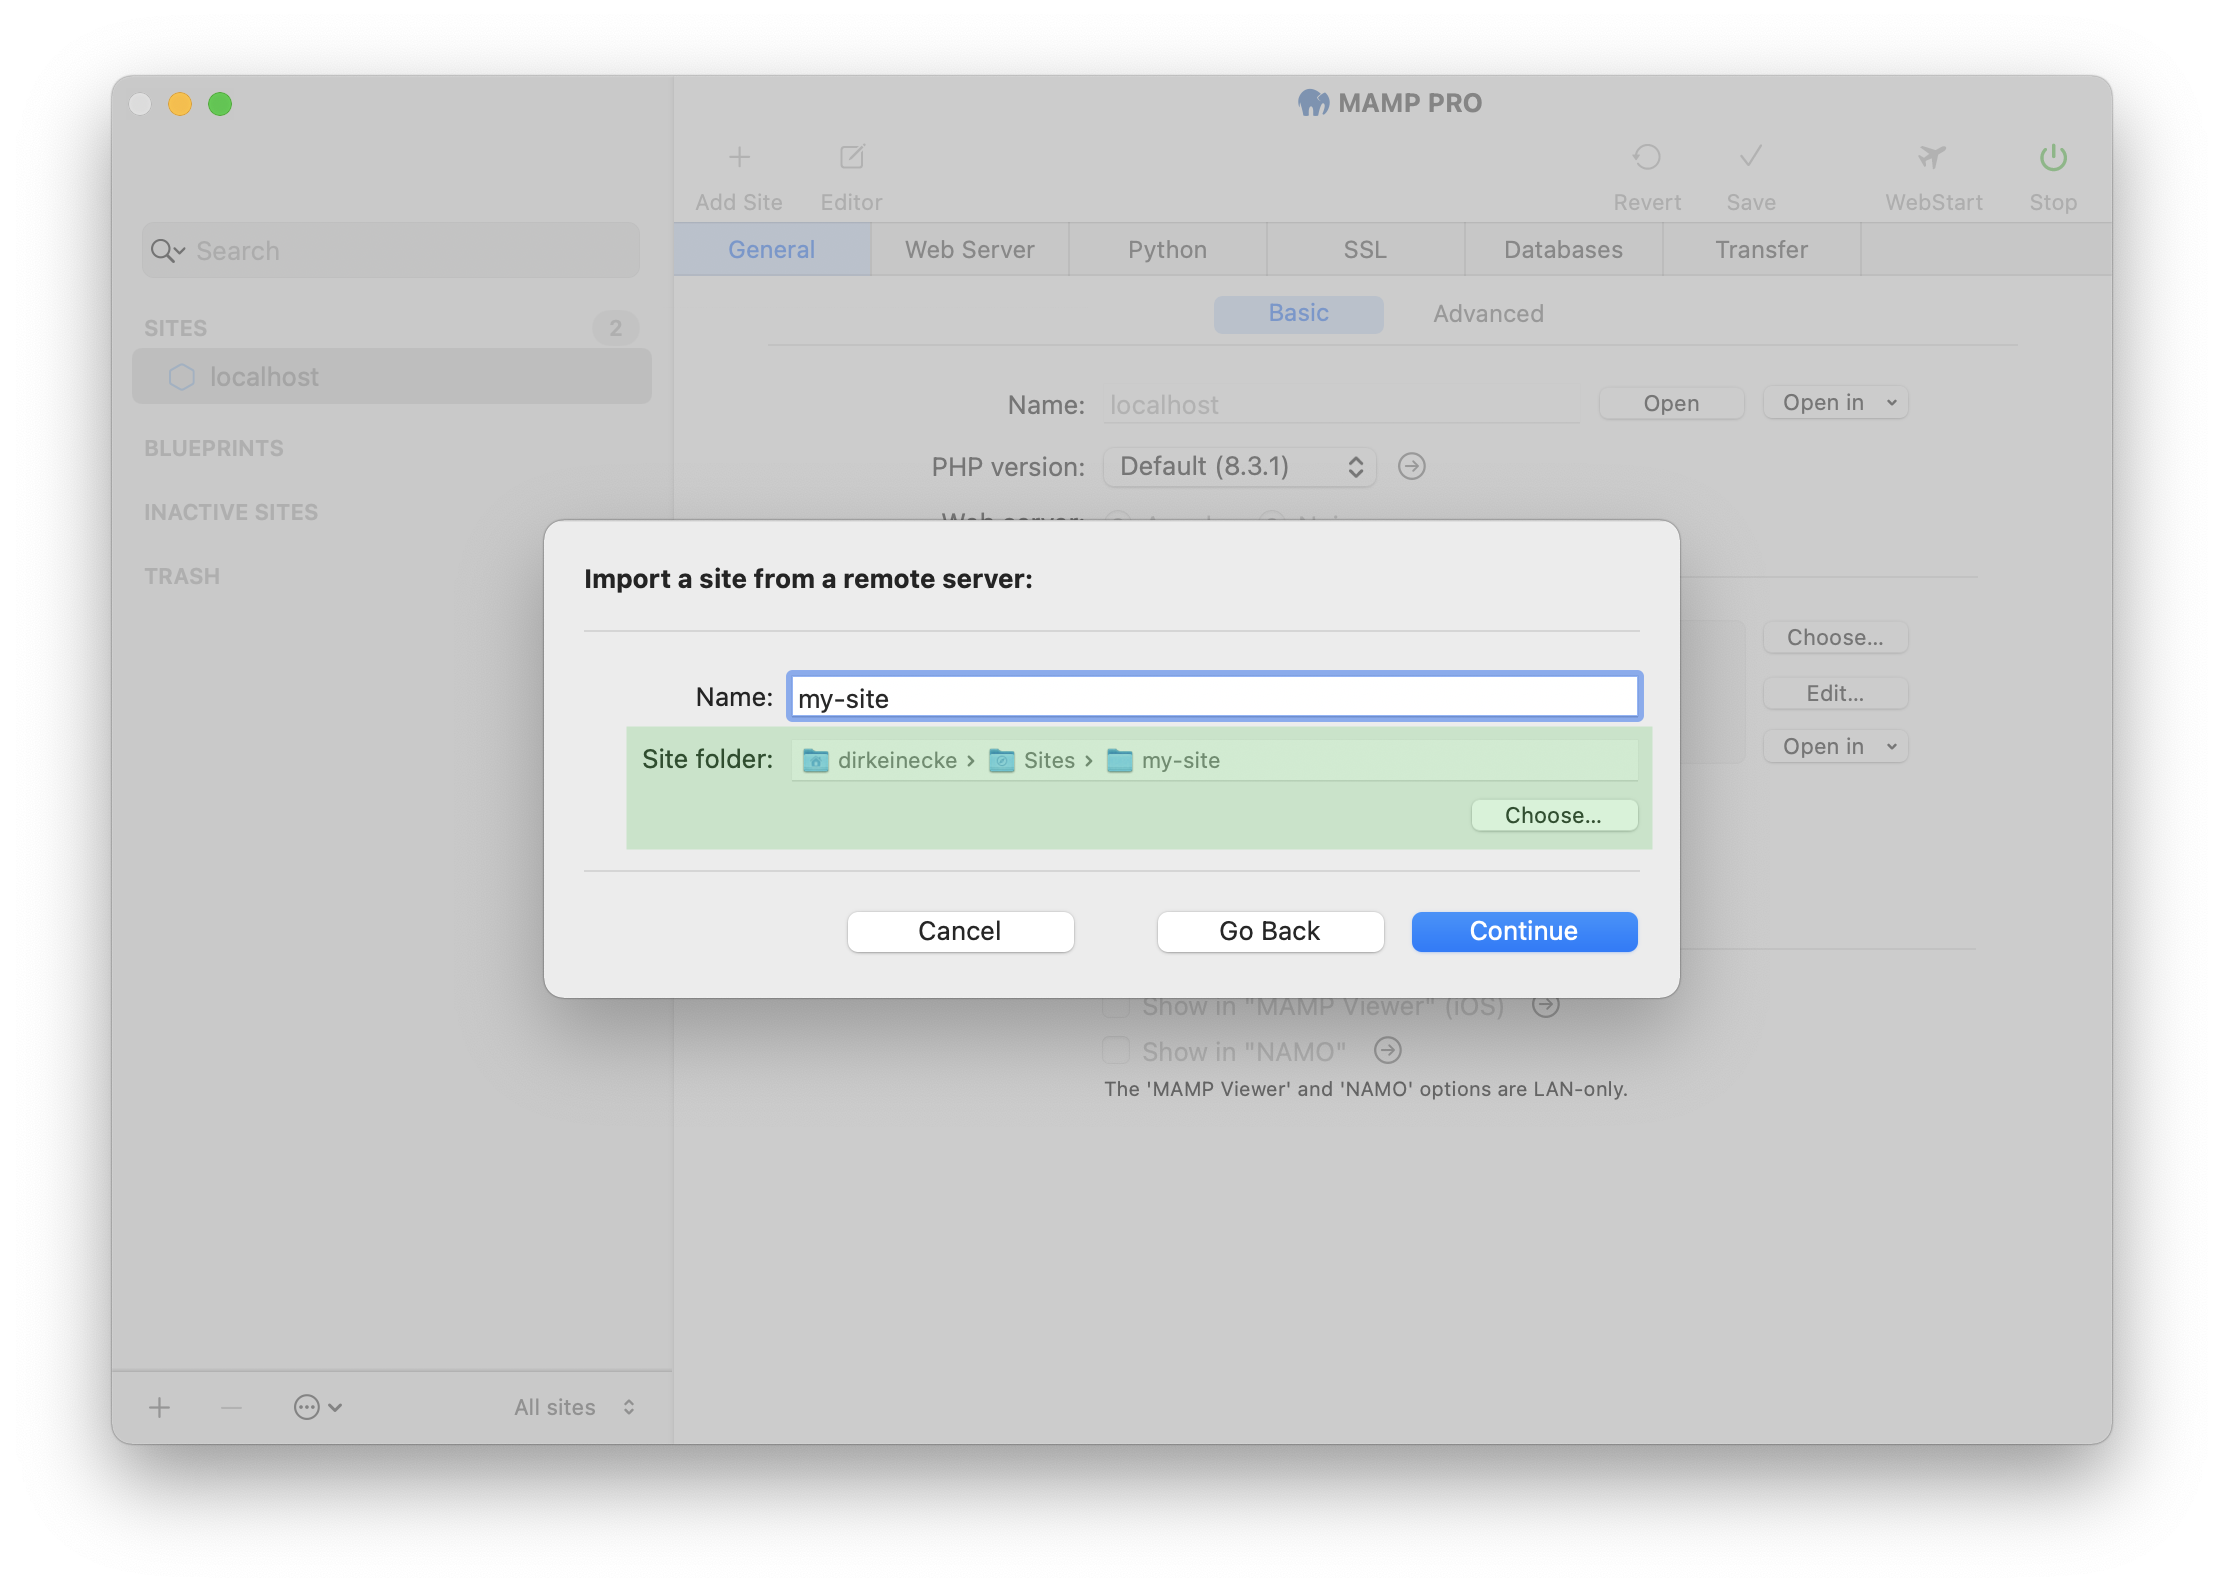
As “Site folder” we first create the new directory “my-site” and then select it.
Note: Do not create a site folder under your “/Applications/MAMP” folder. A better location for your site folders would be “~/Sites/”. This will keep your site data separate from the MAMP PRO application data.
-
Confirm your selection by clicking on the “Continue” button.
-
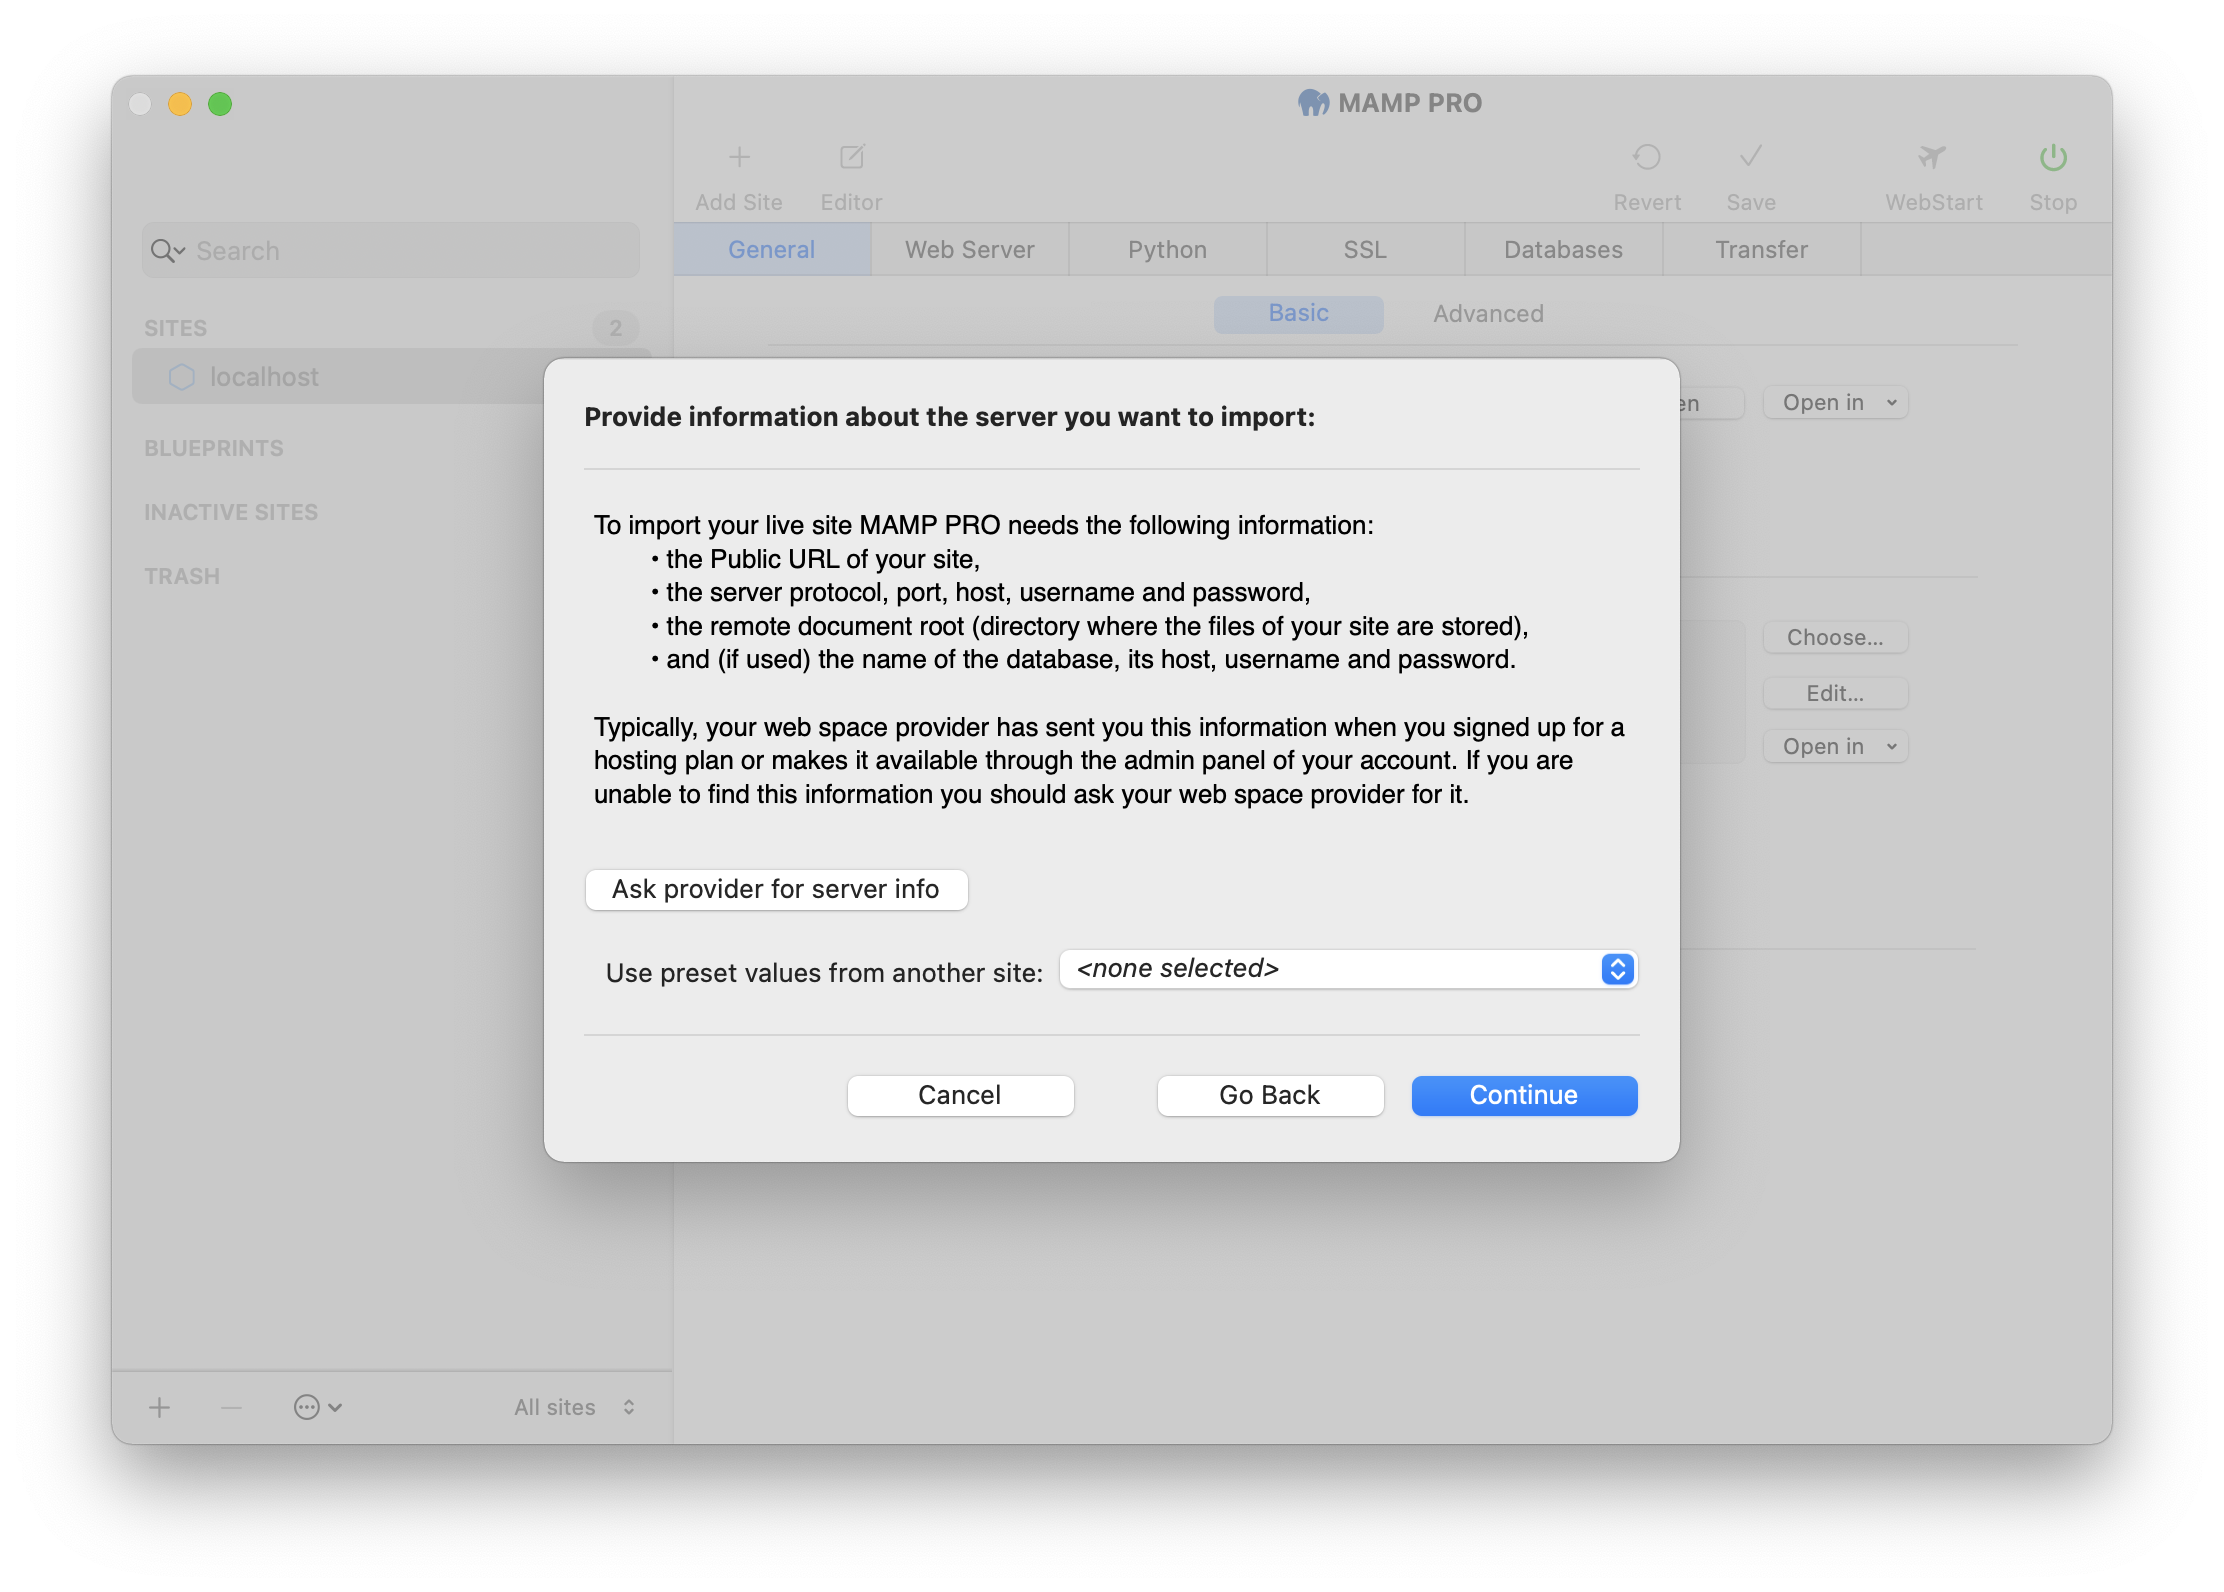
The next screen will tell you what information is required for the next steps.
-
Click on “Continue” to proceed to the next step.
-
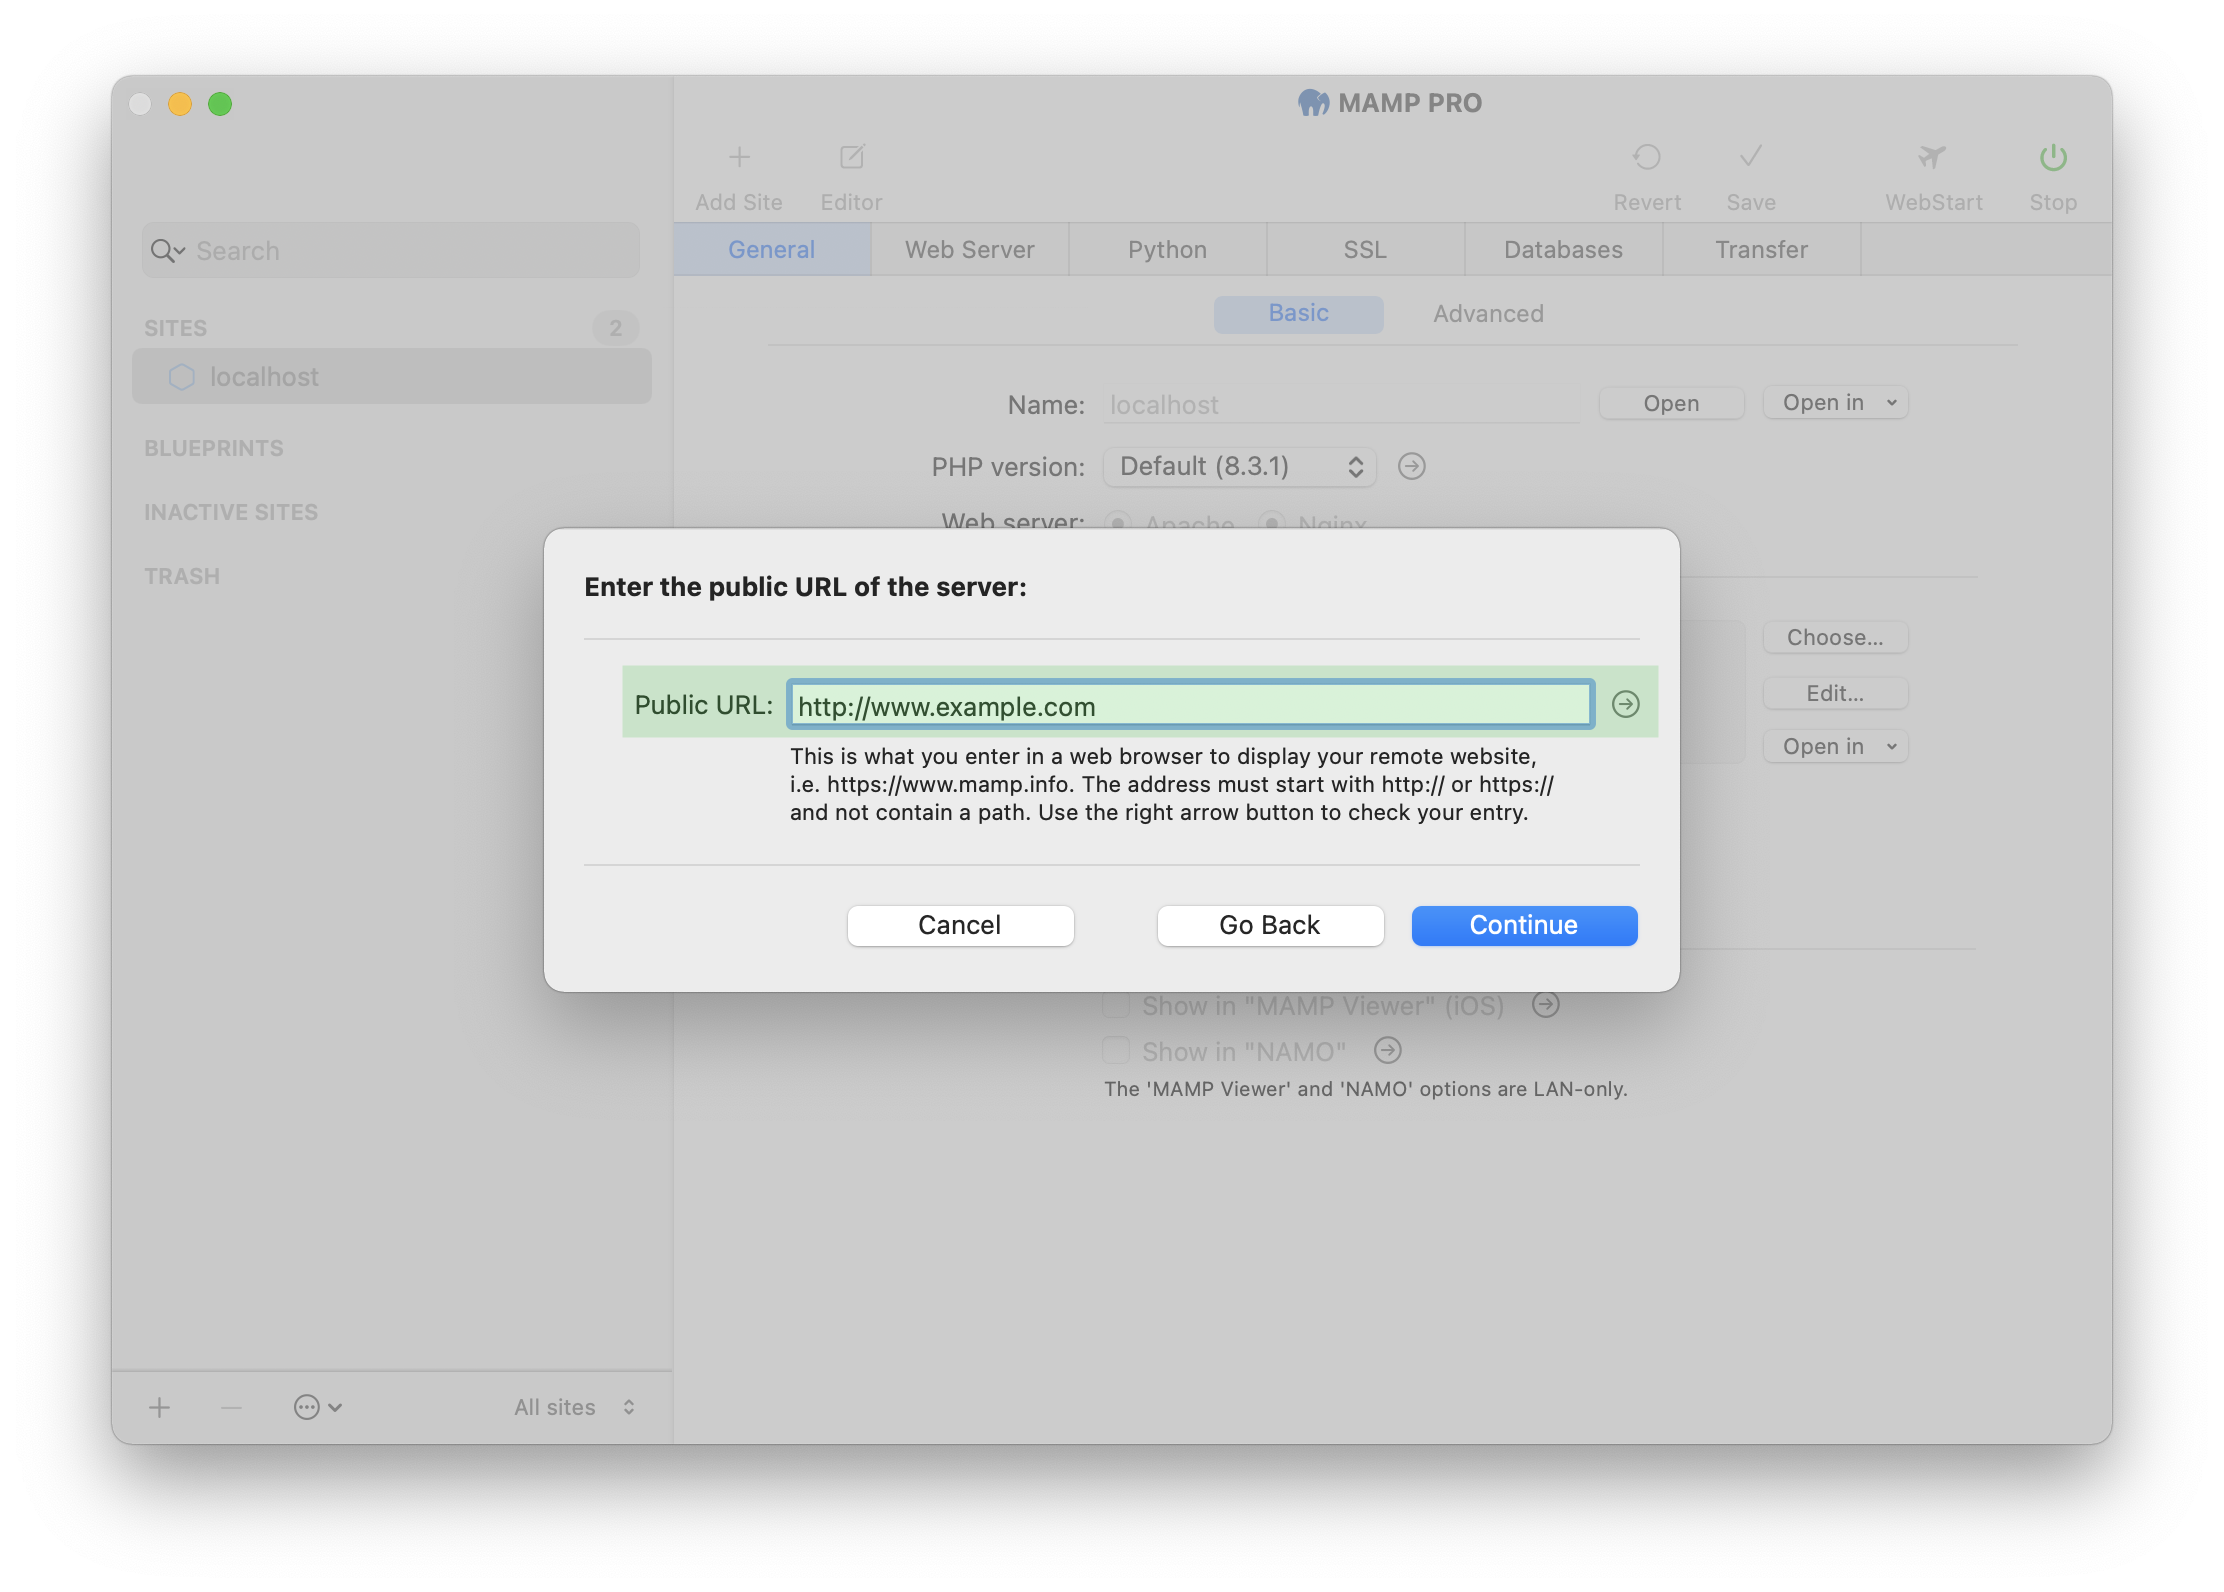
Enter the Public URL first. Once you have entered the URL, you can check that it is correct by clicking the arrow button to the right of the input field.
-
Confirm your entries by clicking on the “Continue” button.
-
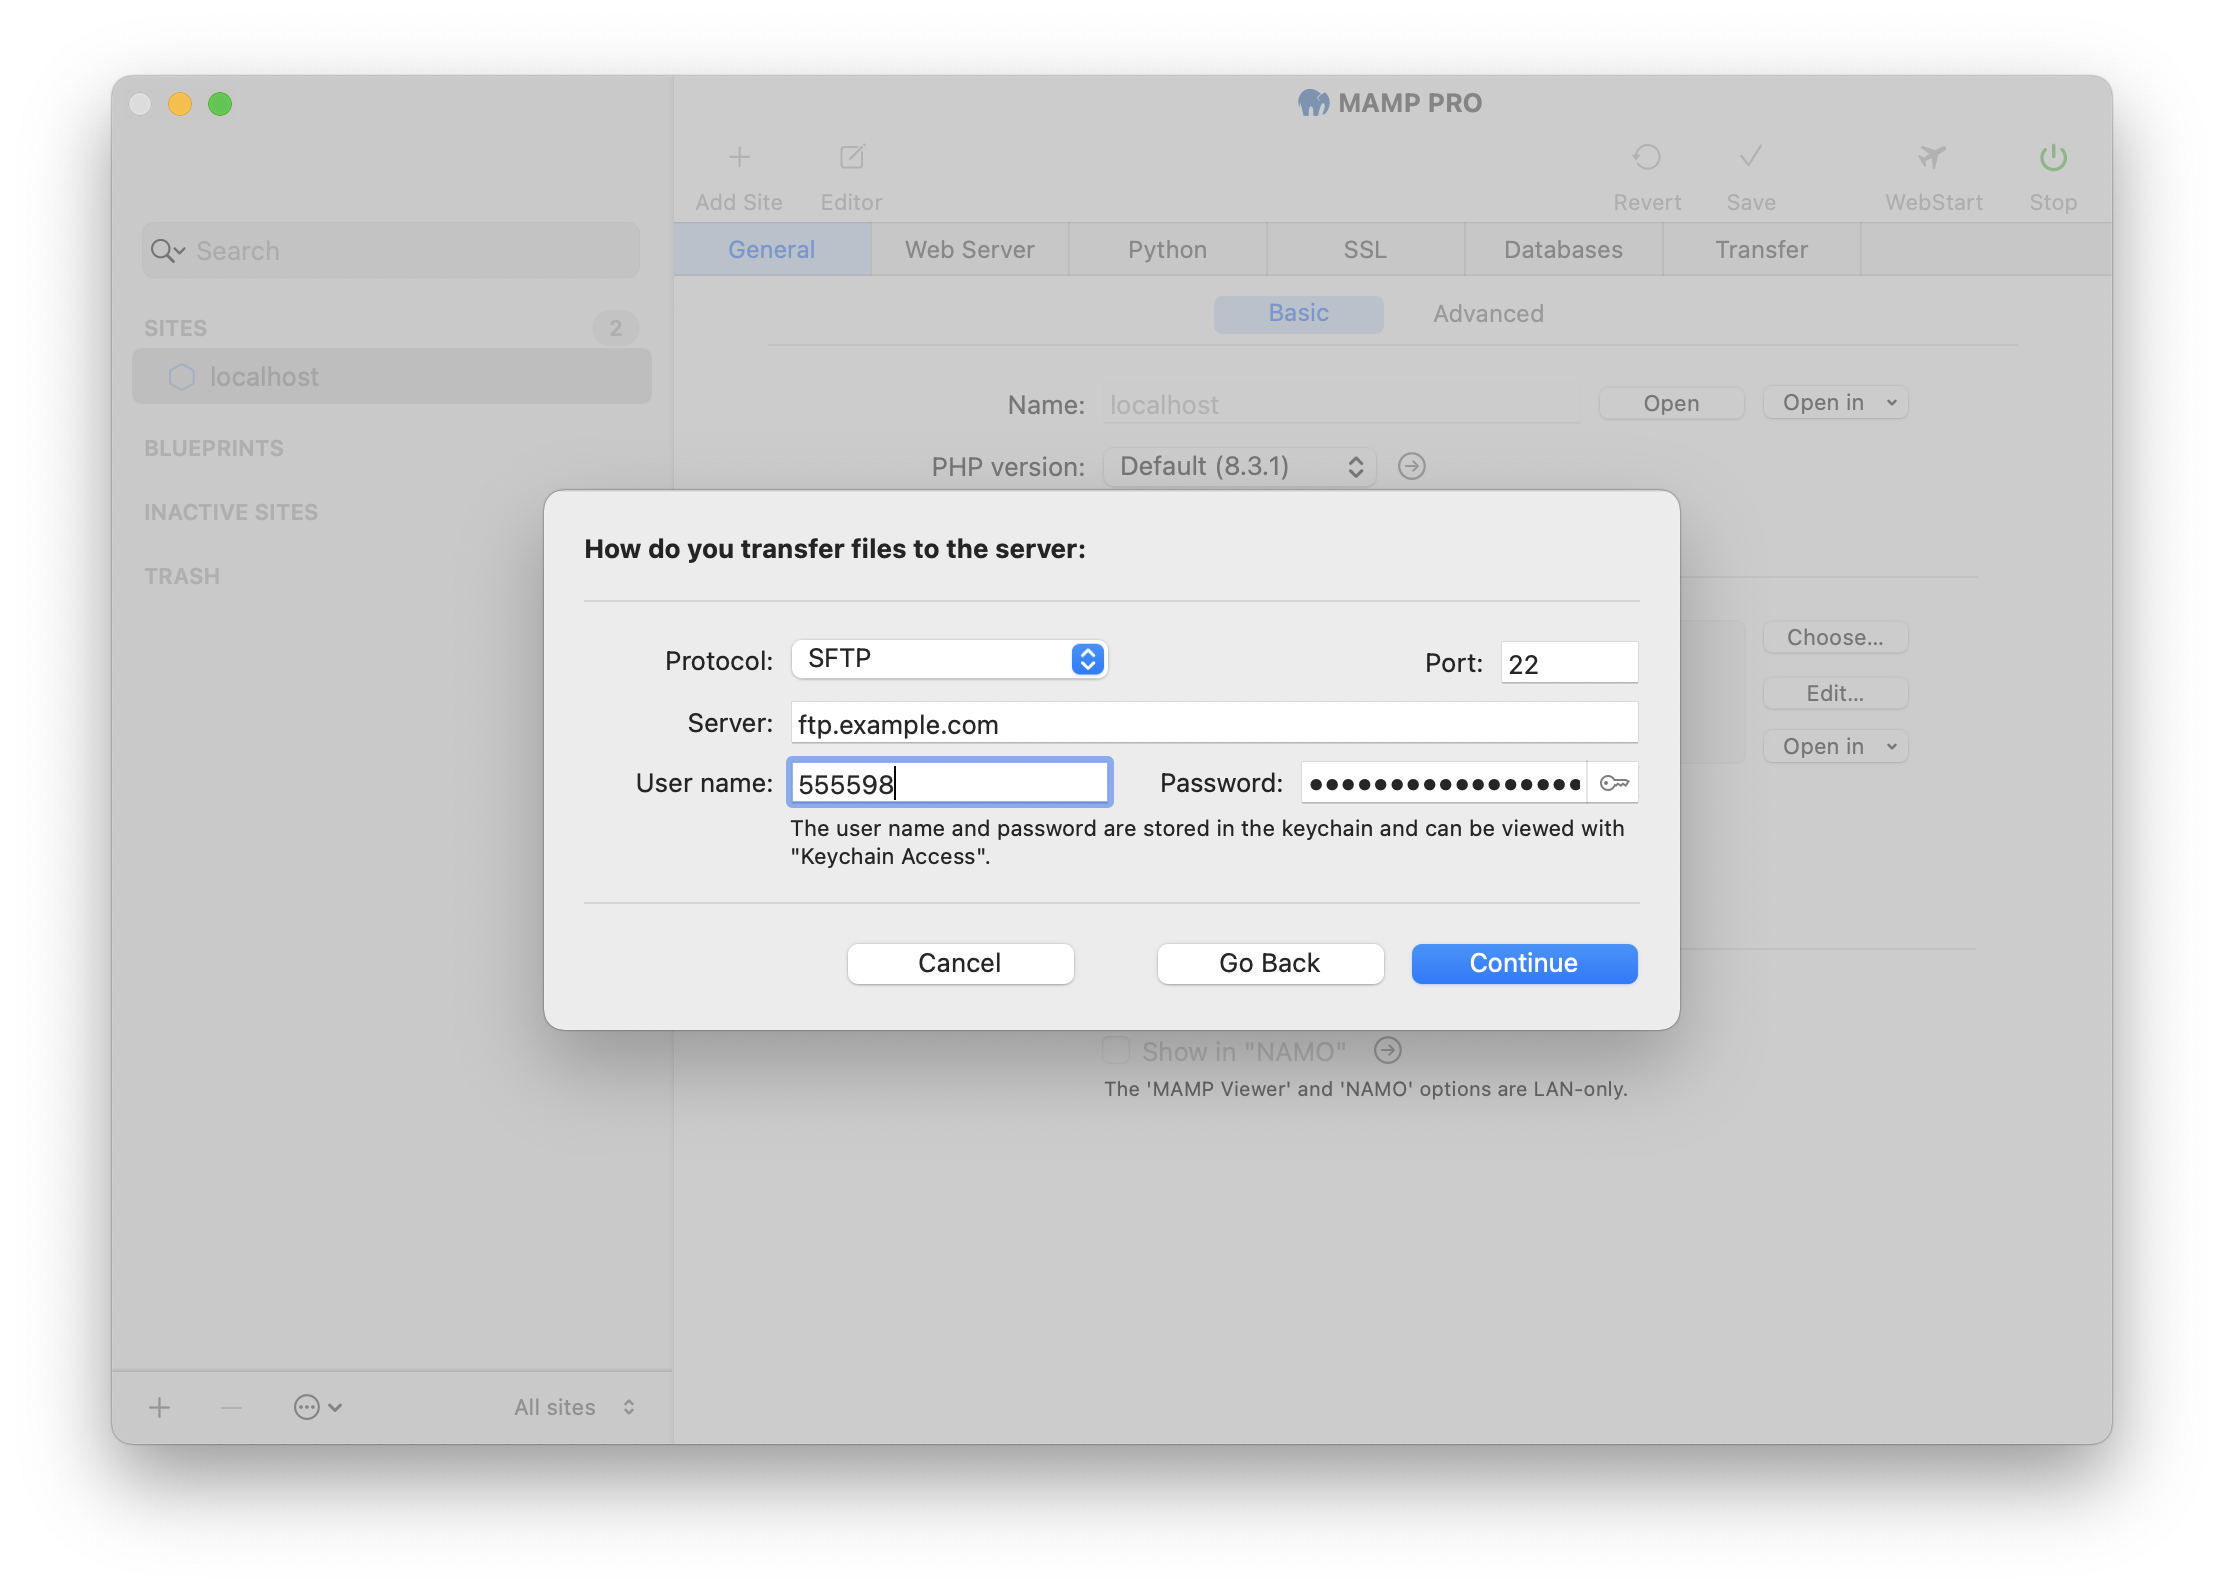
In the next step, enter the FTP data.
-
Confirm your entries by clicking on the “Continue” button.
-
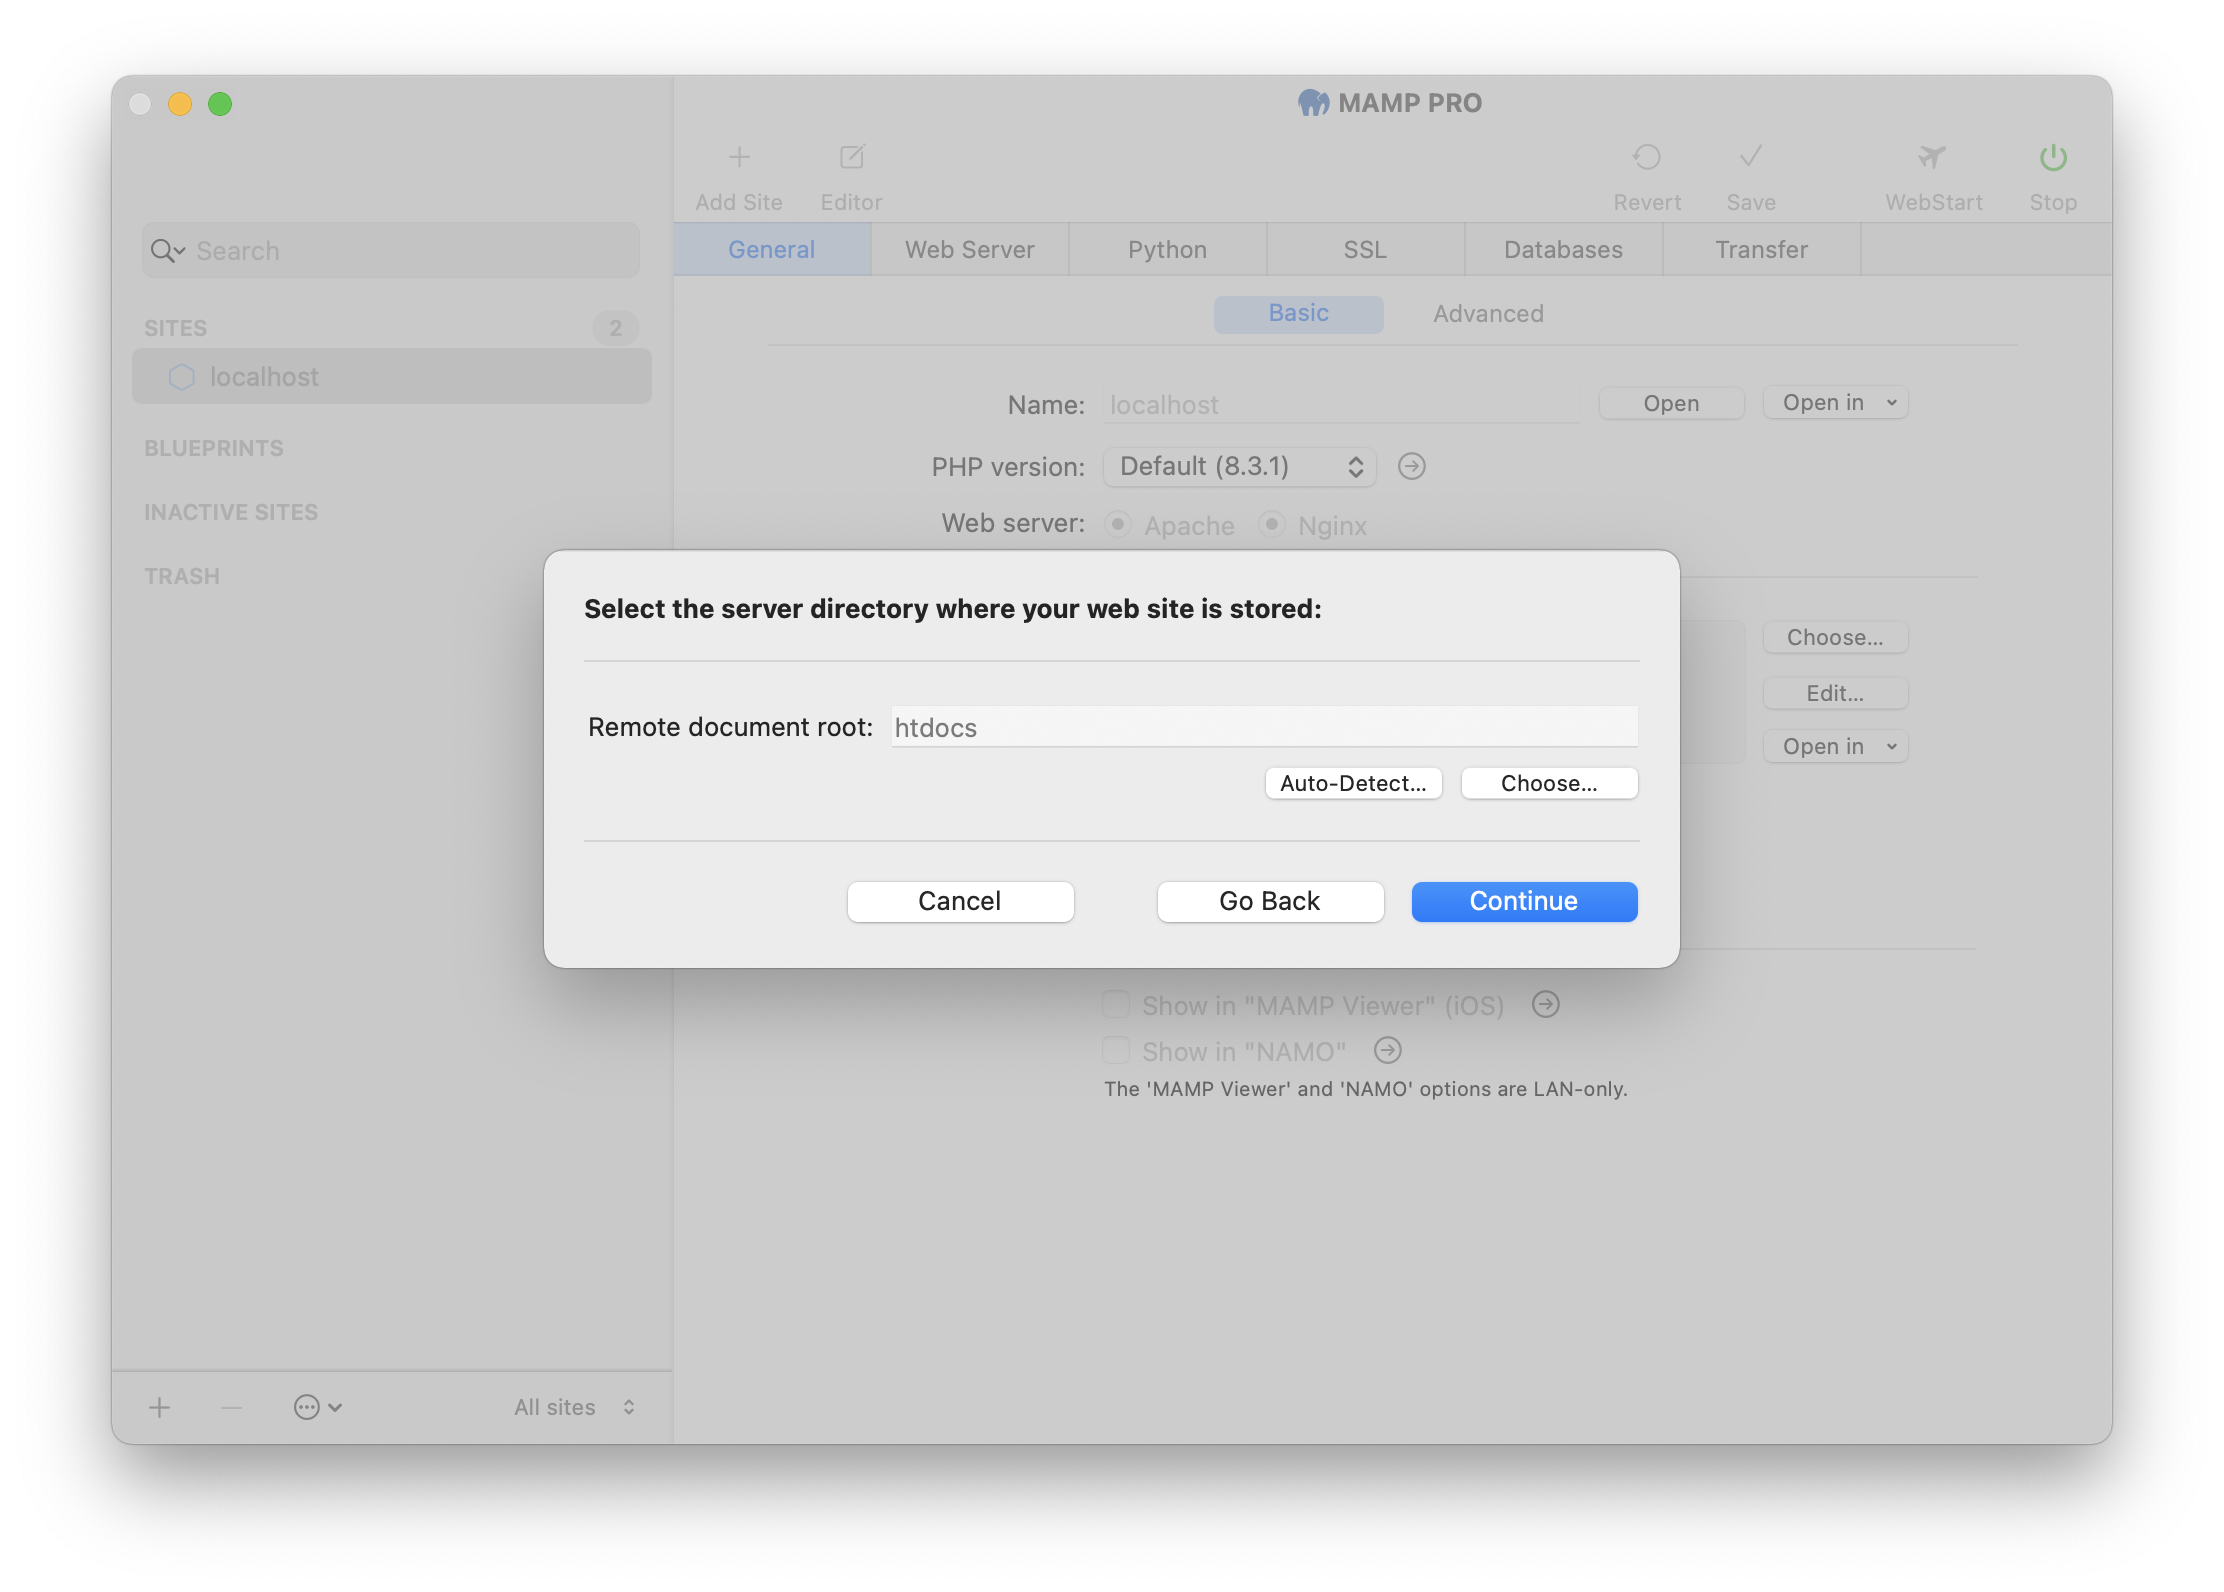
The next step is to specify the document root on your remote server. If you are not sure, MAMP PRO can try to find it automatically. Click on the “Auto-Detect…” button. You can also select the directory manually. Click on the “Choose…” button.
-
Confirm your data with a click on the “Continue” button.
-
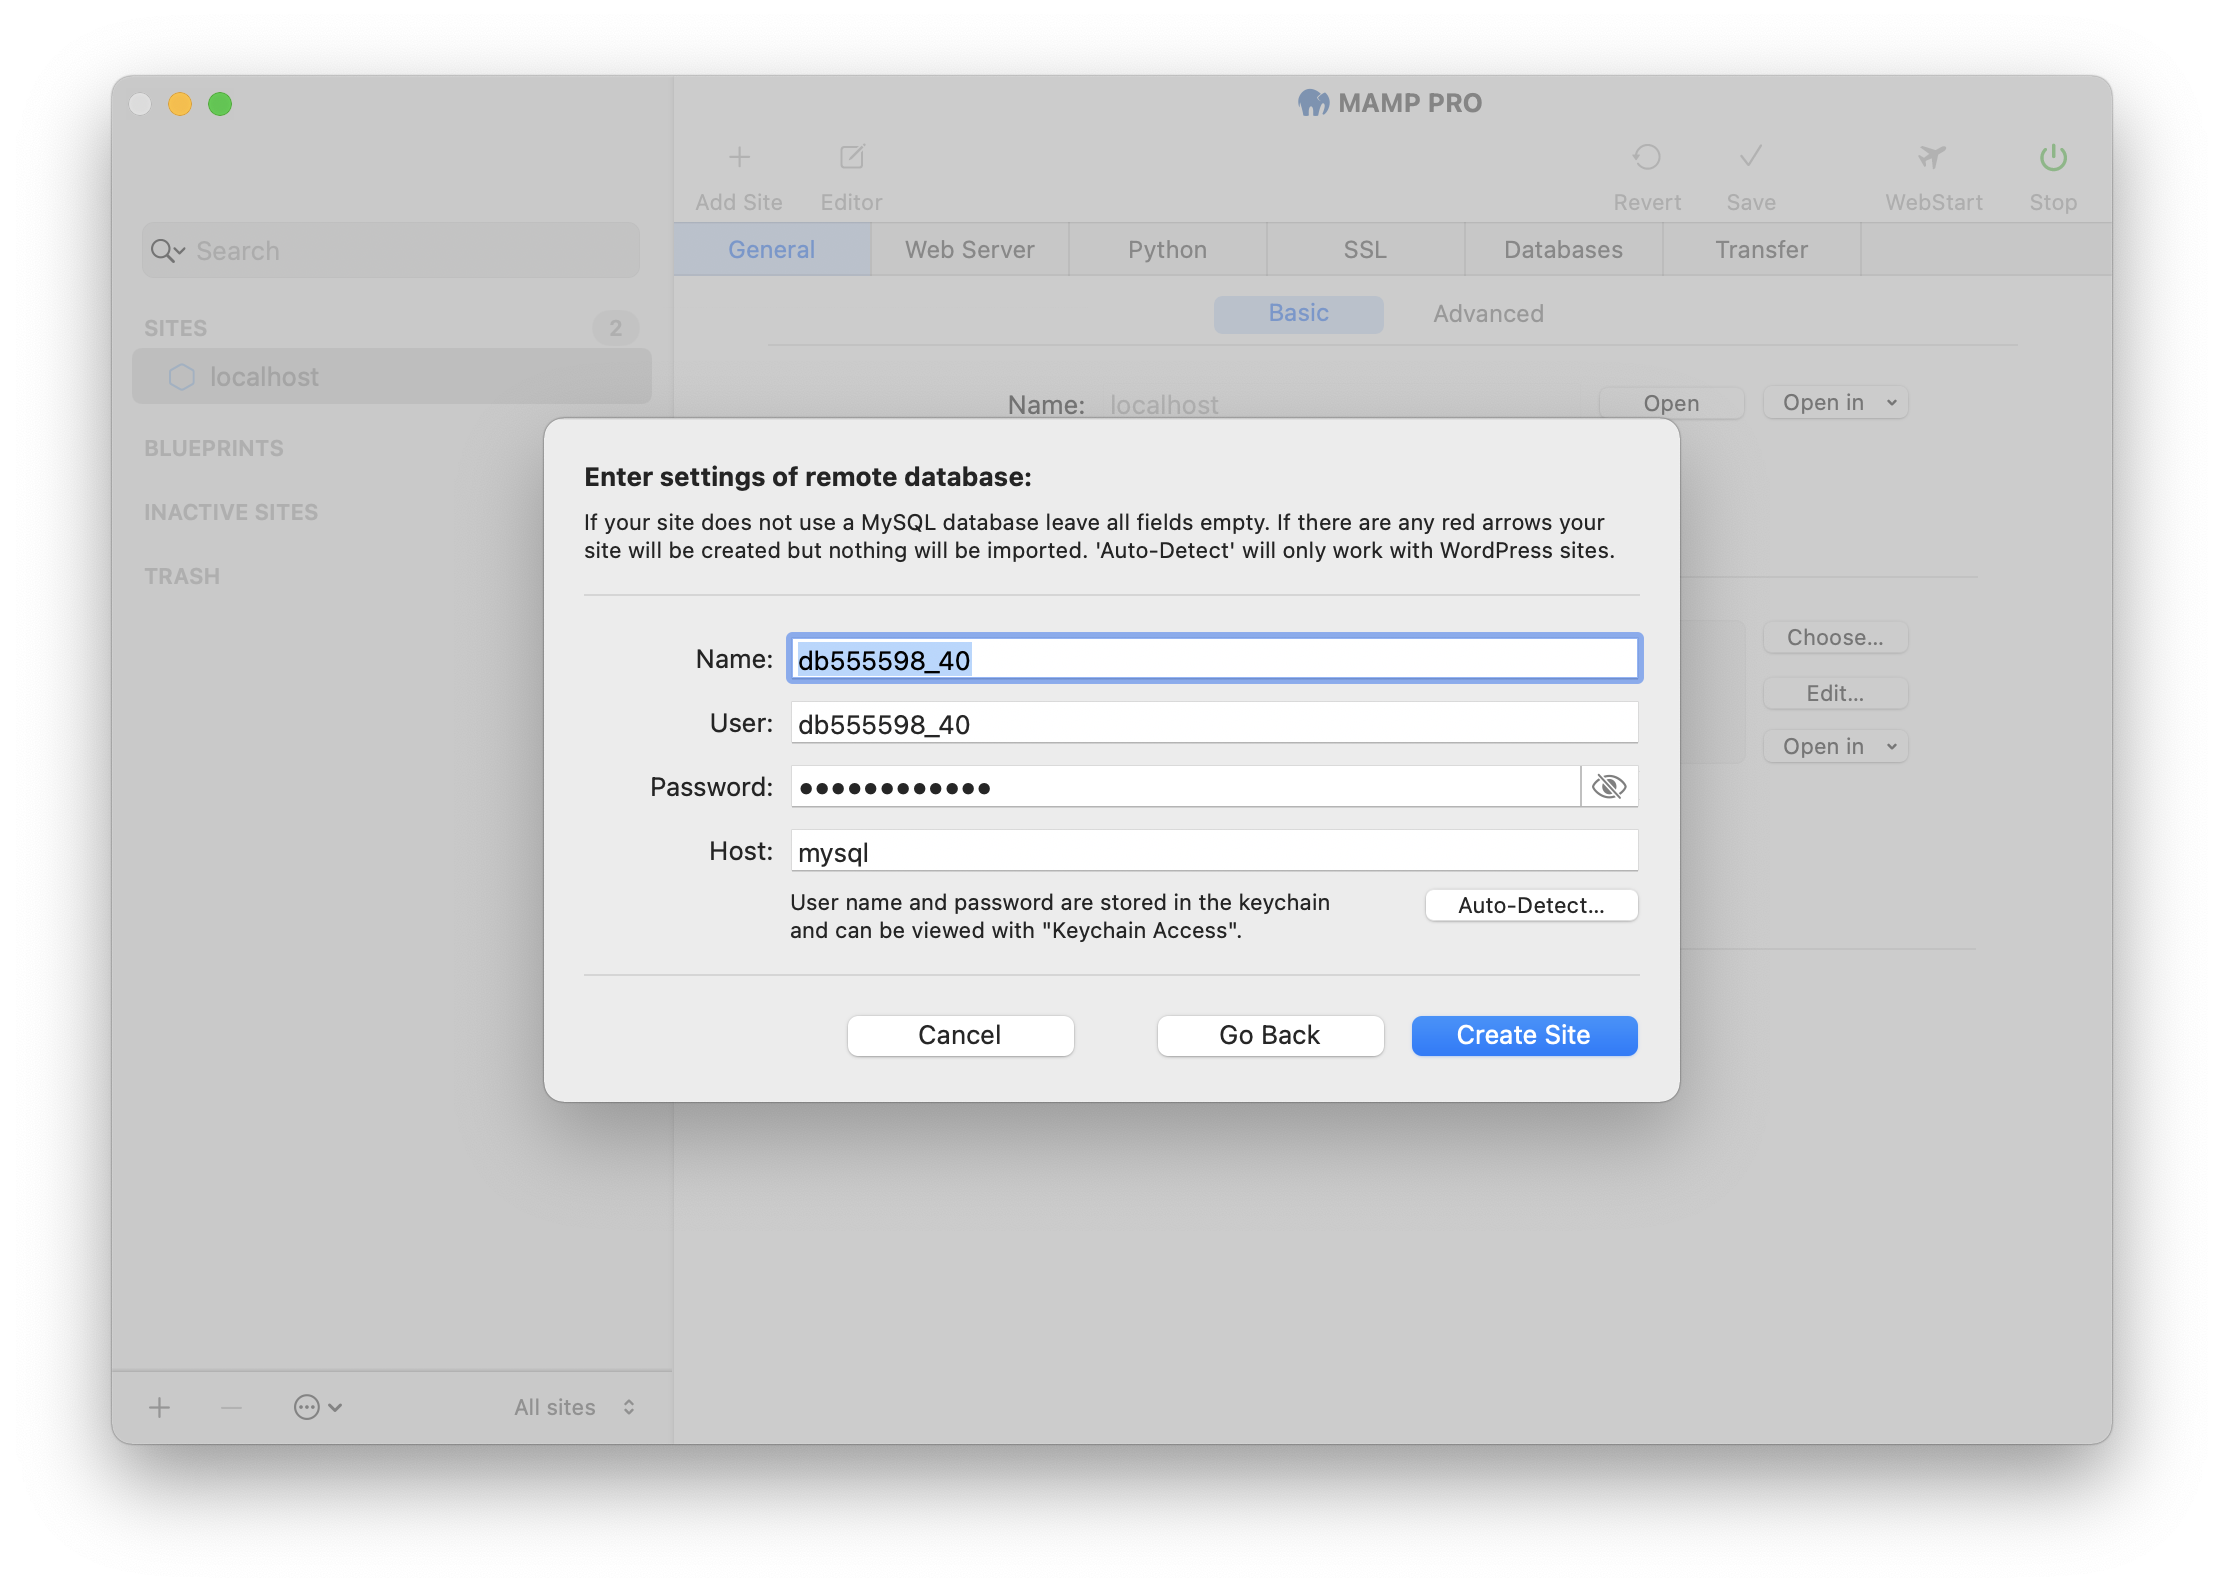
In the next step you enter the access data for the database on your remote server. If there is a WordPress installation on the server and you want to import it, MAMP PRO can automatically request the corresponding information. To do this, click on the “Auto-Detect” button. If you do not want to import any database, then simply leave the fields of these screens empty.
-
Confirm your selection by clicking on the “Create Site” button.
-
All data will now be downloaded from your remote host and added to your new local site. This process may take several seconds. Please be patient.
-
The settings for your new site are saved automatically, and the servers and services are restarted if necessary.
-
To open your new site in your default browser, click on the “Open” button to the right of the site name field.